3 Microsoft Word Tips and Tricks to Improve Productivity

MICROSOFT WORD
THE QUINTESSENTIAL OFFICE TOOL
Microsoft Word (or just Word) is used world-wide by almost every company on the planet. For good reason too, as Word is jam packed with features that make creating documents a breeze!
Here are some our our favorite tips!
AUTOTEXT
In Word you can insert text automatically with words, phrases, or sentences that Word automatically completes after you’ve typed only a few characters. For example, we could set up Autotext to write ReadyTechGo every time we type RTG.
This can be very useful if you find yourself typing the same thing over and over again!
You can even set up your autotext to prefill your full name whenever you type your initials.
 The steps are:
1.) Select the text you want to automatically insert.
2.) Click the File tab at the top of the screen.
3.) Click Options
4.) Click Proofing
5.) Click AutoCorrect Options, and then click the AutoCorrect tab.
6.) Select the Replace text as you type check box, if it wasn’t already.
7.) Under Replace, type the characters that you want to use for your automatic text. The text that you selected in your document should appear under With.
BULK CHANGE TO UPPER/LOWER CASE
Sometimes we forget to turn off caps-lock and part of our word document is all in capital letters.
Without knowing how to change it, you’d have to re-type it all out. But not anymore!
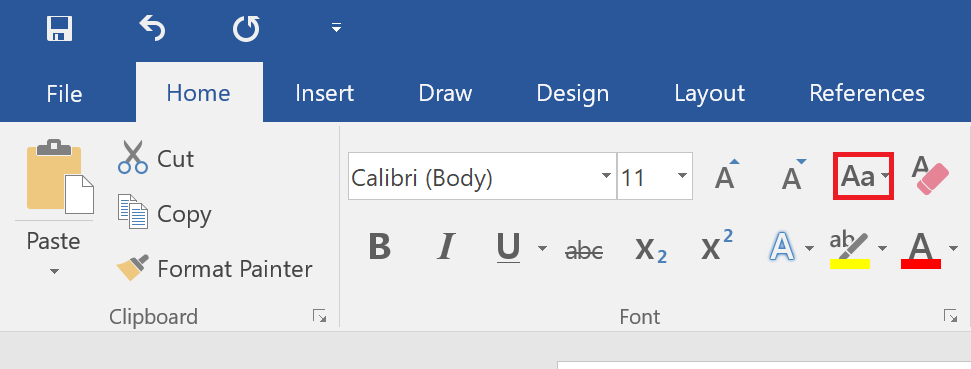
In the Home tab at the top of the screen, next to where you would change font. There is the Change Case button (Looks like ‘Aa’) which when pressed will present you the various options you can change your text too!
There cases you change to are:
Sentence case.
lowercase
UPPERCASE
Capitalize Each Word
tOGGLE cASE (swaps capital with lowercase and vice versa)
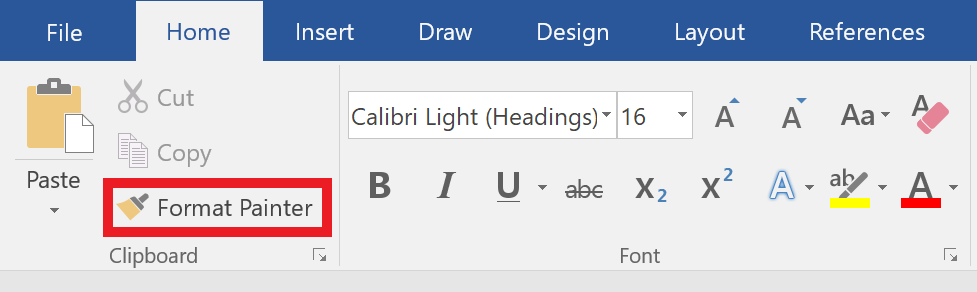
COPY FORMATTING
Like the look of a particular section of text? You can apply that look to other section in the document. To get started:
1.) Select the text with the formatting/style that you like within the document.
2.) Click Format Painter in the Home tab
3.) Select something else within the document to automatically apply the formatting.
BONUS OUTLOOK TIP!
SETTING UP EMAIL TEMPLATES
1.) Create a new email message in Outlook.
2.) Enter a Subject if you want to use one for your message template.
3.) Now enter the email template’s text body. Make sure to remove any signature if you have set up Outlook to add a signature automatically when composing.
4.) Click File in the message’s toolbar.
5.) Select Save As
6.) Select Outlook Template under Save as type: in the Save as dialog.
7.) Type your desired template name
8.) Click Save
2.) Make sure the Home (or HOME) ribbon is selected and expanded.
3.) Click New Items in the New section.
4.) Select More Items > Choose Form… from the menu that has appeared.
5.) Make sure User Templates in the File System is selected under Look In:
6.) Double-click the desired email message template.Address, adapt and eventually send the email!
You may also like

iPhone Photos Visual Look-Up Feature

Linking your COVID vaccination certificate to the Services Victoria App
