• About Us
    • About Us
    • Join Us
  • Services
    • Seniors
    • Busy Professionals
    • NDIS
    • Retraining Programs
    • Be Connected
    • Remote Lessons
  • Testimonials
  • News
    • In The Media
    • Client Stories
    • Tech Tips
  • Workshops
  • Events
  • Shop
  • Terms
    • Terms of Service
    • Privacy Policy
    • NDIS Participants
    • Pricing
  • Contact
CALL US
(03) 9434 2020
hello@readytechgo.com.au
ReadyTechGo
  • About Us
    • About Us
    • Join Us
  • Services
    • Seniors
    • Busy Professionals
    • NDIS
    • Retraining Programs
    • Be Connected
    • Remote Lessons
  • Testimonials
  • News
    • In The Media
    • Client Stories
    • Tech Tips
  • Workshops
  • Events
  • Shop
  • Terms
    • Terms of Service
    • Privacy Policy
    • NDIS Participants
    • Pricing
  • Contact

Tech Tips

  • Home
  • Blog
  • Tech Tips
  • Take Smartphone Photos Like A Pro Photographer
Take Smartphone Photos Like A Pro Photographer

  • Posted by Lisa
  • Date September 2, 2016

BECOME A PHOTO-TAKING PRO
using your iPhone or iPad camera!

I went to my last-ever university ball on Thursday. Among other things, such as dolling up in the prettiest dresses, drinking just a little too much and dancing the night away, university balls are known to involve taking lots and lots of glamorous photos.

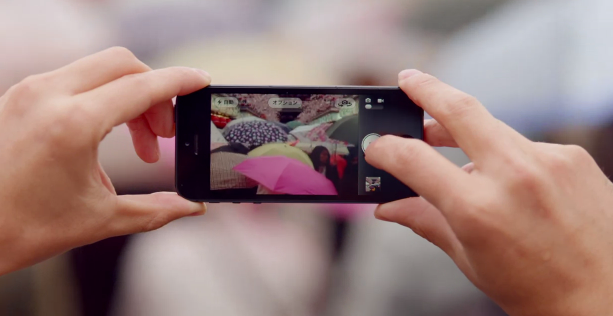
It was during one of these photo-taking sessions that a friend happened to showed me something really neat about iPhone cameras: you can adjust the brightness while taking a photo!

What this means is that, whenever you’re pointing your iPhone camera towards something, and the photo appears too dark or too bright, you’ll be able to adjust the brightness to a setting that’s just right. No more dark, blurry photos!

Here’s how you do it:

  1. Open up your iPhone Camera by going to your menu screen and tapping on the Camera app
  2. Point your camera towards something that you wish to take a photo of
  3. Tap the screen on wherever you wish the Camera to focus
  4. You’ll see a yellow box with a little sun icon on the right
  5. Swipe upwards on your screen to make the photo brighter. The little sun icon will move upwards
  6. Swipe downwards on your screen to make the photo darker. The little sun icon will move downwards


And there you go! Now you can take your photos with the perfect lighting.

This feature is available on all iOS 8 devices and above, so feel free to try this on your iPad as well! But sorry, Android users…your cameras don’t have this feature yet.

Want more handy tech tips delivered to your inbox? Leave your email below and get your weekly dose of knowledge!

Sending ...

  • Share:
Lisa

Previous post

The Quickest Way To Put Your Phone On Silent
September 2, 2016

Next post

How To Password Protect Your Private Notes
September 9, 2016

You may also like

6e825825-46df-86f9-d4bf-e058451f72de
Medisafe App
17 February, 2025
Mailchimp Header (20)
Telstra & Optus 3G Network Shutdown Delayed
22 August, 2024
Mailchimp Header (18)
3D Printing & Design
5 August, 2024

Search

Categories

  • Client Stories
  • Events
  • In The Media
  • Our Team
  • Tech Tips
  • timeline

"The beautiful thing about learning is that nobody can take it away from you" - Proudly Made in Melbourne, Australia

  • © Copyright 2021, ReadyTechGo Pty. Ltd