• About Us
  • Services
    • Seniors
    • Busy Professionals
    • NDIS
    • Retraining Programs
    • Digital Discovery
    • Be Connected
    • Remote Lessons
  • Testimonials
  • News
    • COVID-19 Update
    • In The Media
    • Client Stories
    • Tech Tips
  • Workshops
  • Events
  • Shop
  • Terms
    • Terms of Service
    • Privacy Policy
    • NDIS Participants
  • Contact
CALL US
(03) 9434 2020
hello@readytechgo.com.au
ReadyTechGo
  • About Us
  • Services
    • Seniors
    • Busy Professionals
    • NDIS
    • Retraining Programs
    • Digital Discovery
    • Be Connected
    • Remote Lessons
  • Testimonials
  • News
    • COVID-19 Update
    • In The Media
    • Client Stories
    • Tech Tips
  • Workshops
  • Events
  • Shop
  • Terms
    • Terms of Service
    • Privacy Policy
    • NDIS Participants
  • Contact

Tips & Tricks

  • Home
  • Blog
  • Tips & Tricks
  • HOW TO: Create Private Photo Albums On Facebook

HOW TO: Create Private Photo Albums On Facebook

  • Posted by Lisa
  • Date April 27, 2016

SHARE PHOTOS PRIVATELY
Here’s how

Facebook is a great way to stay in touch with friends and family, especially if they are interstate or overseas.
Many of our clients enjoy Facebook, as they can see photos of their children and grandchildren. However, many people raise the concern of privacy.

How do you share photos with certain friends or family members without all your Facebook friends viewing it?

I just got back from a lovely trip to Mauritius. About 30 of us travelled over there to celebrate a friend’s wedding. After the wedding, we enjoyed a day on a Catamaran. Tough life, I know!

As you can imagine, we all had our smartphones, and lots of pictures and selfies were taken on the trip.

We needed a way to share our photos with each other, but keep them private amongst those who were on the trip.

The Solution? 

A private album on Facebook, where only those invited to view that photo album can add photos and view photos.


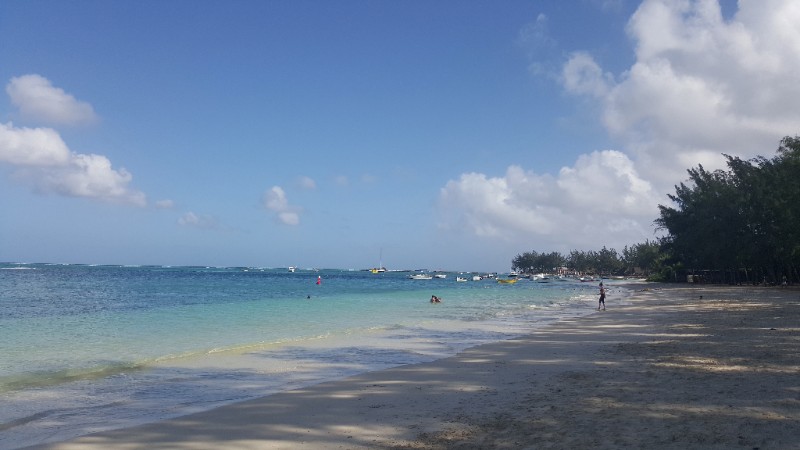
Mont Choisy Beach at sunset! #Love
 

Welcome to private albums on Facebook! 

1. Log into your Facebook account, and visit your personal profile page
2. Click on Photos
3. Click on +Create Album
4. Facebook will prompt you to choose a photo from your device to add to this album, so choose a photo or multiple photos to add
5. Name your Album, and you can add a description for the album
6. Click on Make Shared Album, and a field will appear. Type the names of the people that you would like to share this album with
7. A privacy setting will appear next to the blue Post button, choose Contributors Only

Now you can try creating private albums, and invite certain people to share that album with!

Next week, I’ll share some more tech tips to do with travel.

I’m proud to say that after spending 2 weeks overseas, I didn’t spend $1 on telco costs, and I was in touch with people in Australia everyday!


Want more handy tech tips delivered to your inbox? Leave your email below and get your weekly dose of knowledge!

Sending ...

  • Share:
author avatar
Lisa

Previous post

Tips To Prolong Your Smartphone's Battery Life!
April 27, 2016

Next post

5 Minutes A Day... You Can Learn A New Language
May 4, 2016

You may also like

unnamed
3 Reasons Why Your Phone Might Not Be Charging
4 November, 2020
iPhones Aren’t Immune To Scams
27 October, 2020

IPHONES AREN’T IMMUNE TO SCAMS Don’t let them trick you! Sadly iPhones and other smartphones aren’t immune to scams and viruses, though it’s not impossible for your phone to get a …

Don’t Miss out on the ReadyTechGo Trivia and Get Online Week Events!
15 October, 2020

Search

Categories

  • Client Stories
  • Events
  • In The Media
  • Our Team
  • timeline
  • Tips & Tricks

"The beautiful thing about learning is that nobody can take it away from you" - Proudly Made in Melbourne, Australia

  • © Copyright 2021, ReadyTechGo Pty. Ltd